How to edit Form Success / Error Steps in Poper (Thank You message)
Poper allows you to customize the user experience after someone submits your popup form. This guide will show you how to edit the "Form Success" and "Form Error" steps, enabling you to create clear and informative messages for your visitors.
Accessing Form Success/Error Steps:
Open Your Poper Popup:
Log in to your Poper dashboard and navigate to the specific popup you want to edit.
Locate the Steps Bar: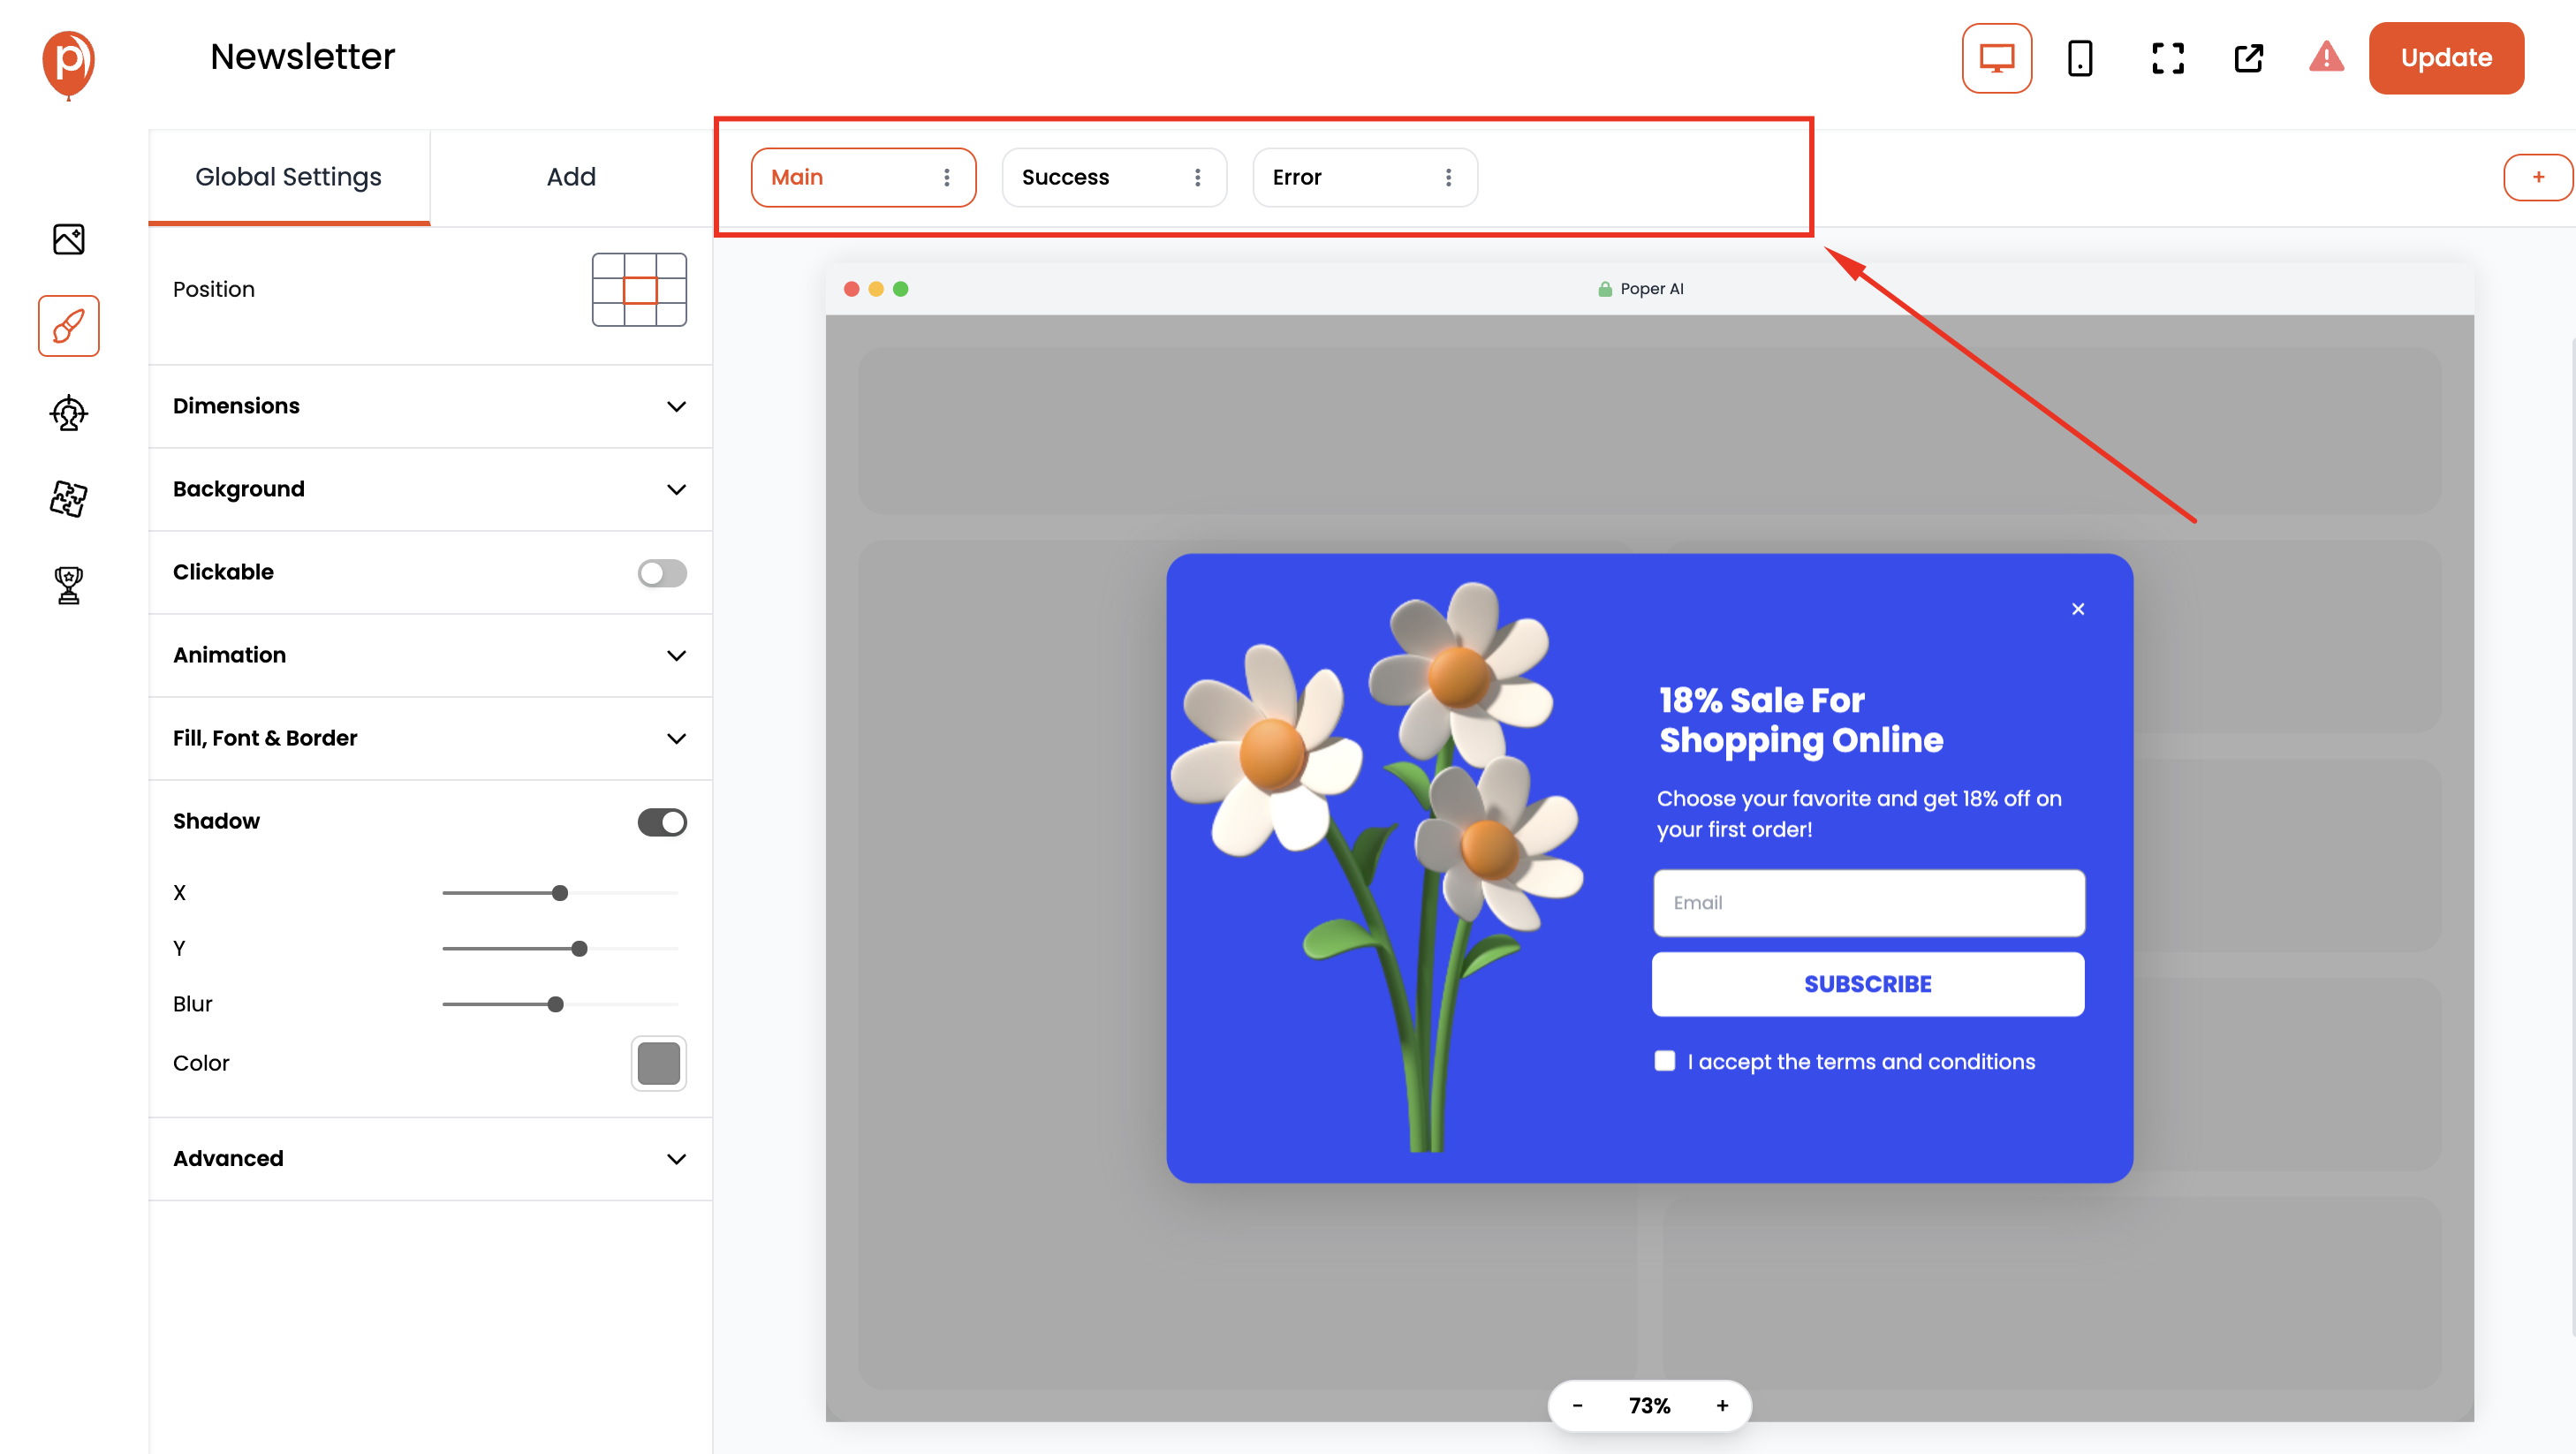
Look for the bar located at the top of the popup editor, just below the popup title. This bar displays all the steps included in your popup sequence.
Adding Form Steps (if missing):
If your popup doesn't have these steps yet, hover over the "+" icon on the far right side of the steps bar.
A dropdown menu will appear, allowing you to select "Form Success" or "Form Error" to add the corresponding step.
Editing Form Success/Error Steps:
Click the Step:
Once you have the "Form Success" or "Form Error" step, click on it to open its editing options.
Customize the Look:
Poper's familiar editing tools will be available. You can change the background color, text content, font styles, and button designs to match your overall popup theme.
Craft Your Message:
In the text editor, enter the specific message you want to display upon form success (e.g., "Thank you for subscribing!") or form error (e.g., "There was an error. Please try again.").

Additional Tips:
- Consider offering a discount code or exclusive content in your success message to incentivize signups.
- Provide clear instructions in your error message, guiding users on how to resolve the issue (e.g., "Please check your email format").
- Maintain a consistent brand voice throughout your popup's steps, including the success and error messages.
Save and Test:
Save Your Popup
Once you're happy with the appearance and content of your "Form Success" and "Form Error" steps, click the "Save" button to apply the changes.
Test Your Popup:
It's crucial to test your popup to ensure the form submission process and messages function as intended. Use Poper's preview mode or send a test submission to see how the success and error steps appear.
By following these steps, you can effectively customize your Poper popup's form success and error messages, providing a clear and positive user experience for every visitor, regardless of the submission outcome.
Related Articles
How to create Multi Steps in Poper
Poper empowers you to create captivating popups with a multi-step format, keeping your visitors engaged and maximizing conversions. This guide will walk you through the process of building a two-step popup, capturing both email and name from your ...How to submit form in Poper and redirect immediately after it?
Follow this guide to learn how to set up a form submission in Poper that redirects the user to a specified URL immediately after submission. Steps to Set Up Form Submission and Redirection: Access Poper Dashboard: Navigate to your Poper dashboard. ...How to make input fields as required in Poper? (Checkbox, Input, and Phone elements)
Poper allows you to designate specific input fields as mandatory, ensuring visitors provide crucial information before submitting the form. This guide will walk you through the process of making input fields (like text, checkbox, and phone number) ...Using Custom Fonts in Poper
Adding custom fonts to your popups in Poper allows you to maintain brand consistency and enhance the visual appeal of your popups. Follow the steps below to use custom fonts in Poper. Steps to Use Custom Fonts in Poper Step 1: Edit Your Popup Open ...Make Elements Clickable in Poper
Poper's popup builder just got more interactive! You can now transform various elements within your popups into clickable hotspots, creating engaging experiences for your visitors. This guide will show you how to make headings, subtext, boxes, and ...