Systeme.io Integration
Efficiently manage your leads by seamlessly integrating Systeme.io with Poper. Follow these simple steps to set up the integration:
How to Integrate Systeme.io in Poper:
Edit Popup:
Navigate to the Poper dashboard and locate the popup you wish to integrate with Systeme.io. Enter the editing mode for the selected popup.
Access Integrations Tab:
Within the popup editor, navigate to the "Integrations" tab located on the left-hand side.
Select Systeme.io:
In the integrations tab, select Systeme.io from the list of available integrations.
Enter API Key:
Provide a name for your API key and enter your Systeme.io API key. You can find your API key in your Systeme.io account settings under Settings > Public API Keys.
Verify API Key:
Click on "Next." Poper will verify your API key, and if valid, it will go to next step.
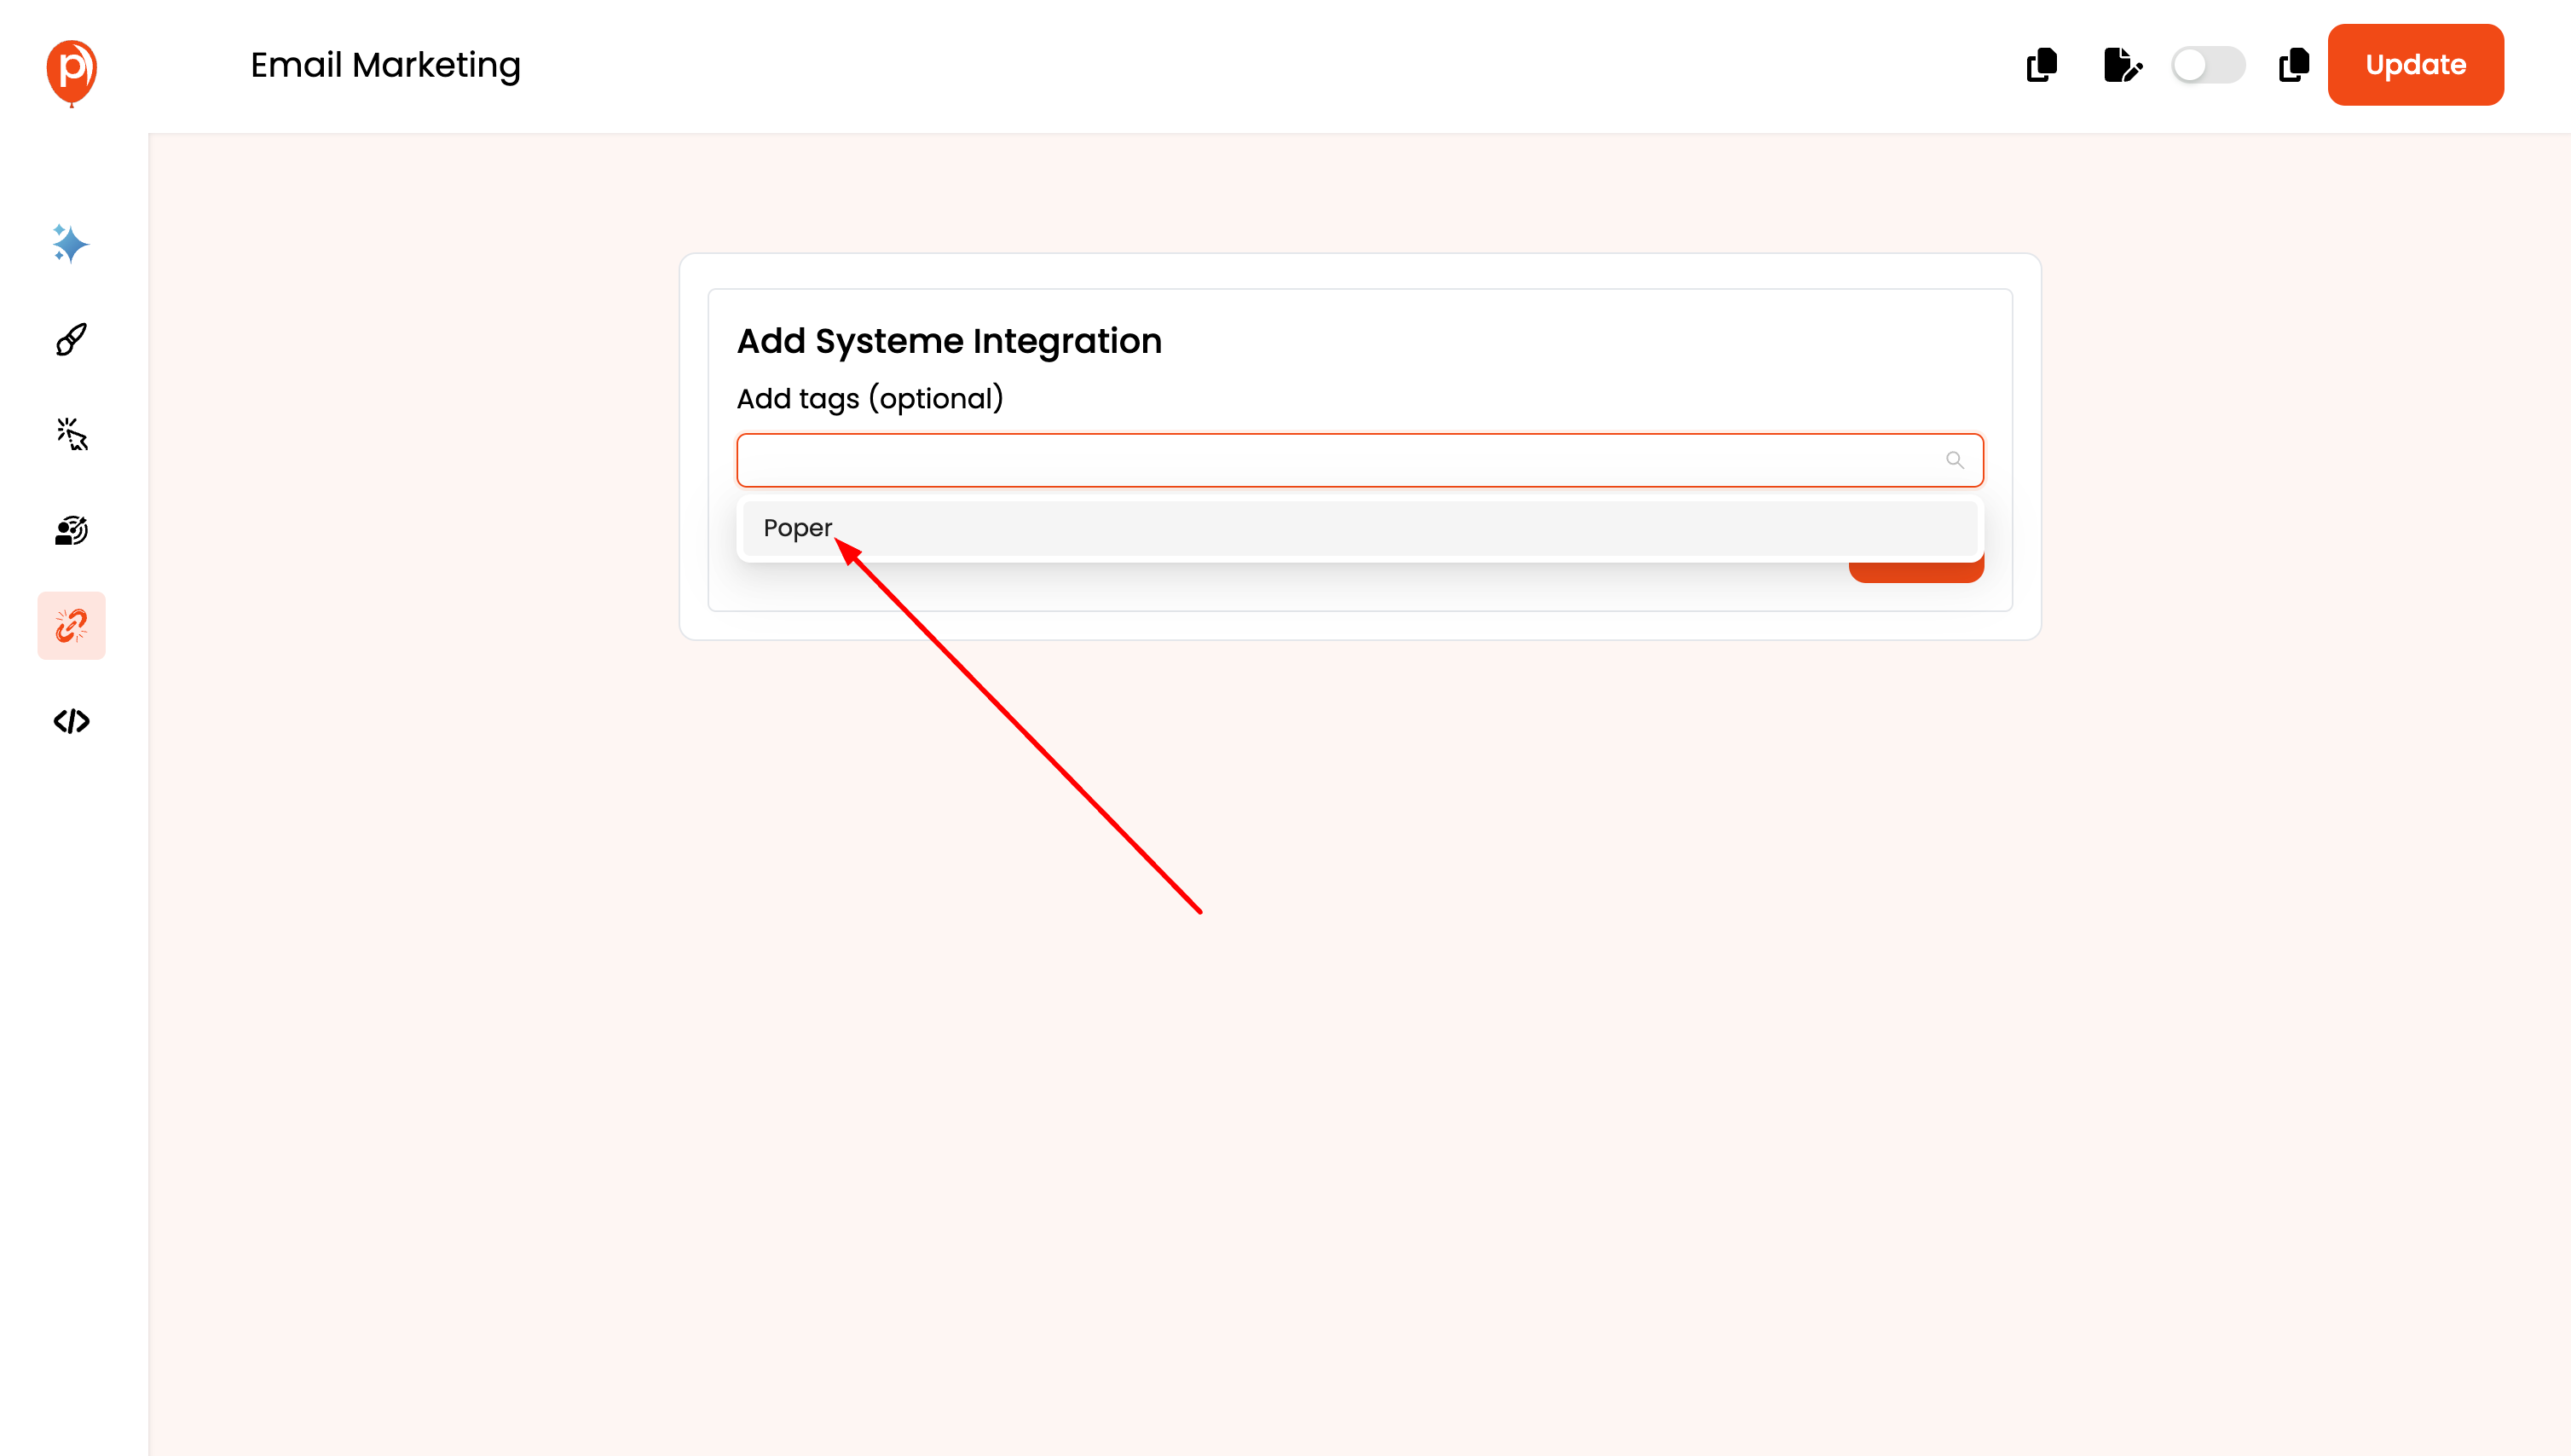
Set Tags (Optional): 
Systeme offers an optional tagging feature. You'll be presented with a dropdown menu where you can select tags to categorize your leads based on specific criteria captured in your popup (e.g., "Newsletter Signup" or "Product Interest"). This helps you segment your audience within Systeme for targeted email campaigns.
Map Fields:
In the next step, map the fields you want to sync from Poper to Systeme.io. This allows you to customize the integration and ensure accurate data transfer, including custom fields and advanced mapping options.
Note: Systeme is very strict with its custom fields. Make sure the property exists in Systeme, otherwise you might miss the leads. Make sure you test your popup after adding fields.
Save Integration:
Once you've mapped the fields, save the popup to apply the Systeme.io integration settings.
Testing and Validation:
Test Popup:
Test your popup to ensure it functions correctly. Submit test leads to verify that the integration successfully adds subscribers to your Systeme.io list.
Validate Integration:
Check your Systeme.io account to confirm that leads collected through your Poper popup are being added to the Systeme.io contact list. This ensures the integration is valid and operational.
Related Articles
customer IO Integration
This guide will show you how to integrate Poper, your drag-and-drop popup builder, with Customer.io, a powerful customer engagement platform. This integration allows you to effortlessly send lead data captured through your Poper popups directly to ...Klaviyo Integration
Effortlessly manage your email marketing campaigns by integrating Klaviyo with Poper. Follow these simple steps to set up the integration: How to Integrate Klaviyo in Poper: Edit Popup: Navigate to the Poper dashboard and locate the popup where you ...Simplero Integration
Effortlessly streamline your lead management process by integrating Simplero with Poper. Follow these straightforward steps to set up the integration: How to Integrate Simplero in Poper: Edit Popup: Access the Poper dashboard and navigate to the ...Slack Integration
Integrating Poper with Slack allows you to receive real-time notifications about new leads directly in your Slack channels. This guide will walk you through the process of setting up Slack integration for your popups in Poper. Steps to Integrate ...Mailerlite Integration
Effortlessly manage your subscribers and email campaigns by integrating Mailerlite with Poper. Follow these straightforward steps to set up the integration: How to Integrate Mailerlite in Poper: Edit Popup: Navigate to the Poper dashboard and locate ...